And I made a short tutorial for you lovers of design, especially for those of you a beginner.
Good luck.
Final Image

Step 1
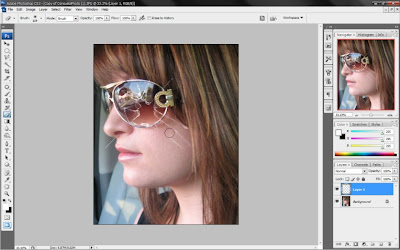
First of all open images to be edited,
then create a new layer and use a brush-Broken Glass, by using the color white.
and remove the excess brush.
Pertama tama buka gambar yang akan di edit,
lalu buat layer baru dan gunakan brush Broken-Glass, dengan menggunakan warna putih.
dan hapus bagian brush yang berlebihan.


Step 2
back to bageround, use the tool (Dodge tool),
to illuminate the facades that are in the circle of glass eyes
kembali ke bageround, gunakan tool ( Dodge tool ),
untuk menerangi bagian muka yang berada dalam lingkaran kaca mata.

Step 3
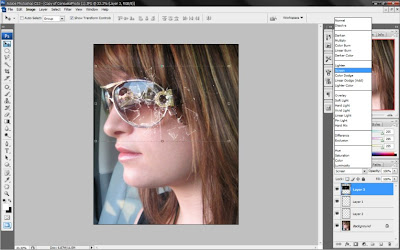
Enter Figure broken glass, then replaced with a screen to normal.
Masukan Gambar kaca pecah,Lalu normal di ganti dengan screen.


Step 4
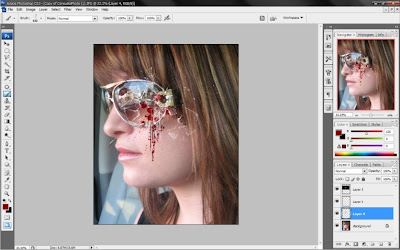
Finally, a new layer above Make bageround image, use the brush Blood.
Terakhir, Buatlah layer baru di atas gambar bageround, gunakan brush Darah.

Final Image


No comments:
Post a Comment