In this tutorial you will learn how to make a stone portrait. The first time you do this you may think that is a hard thing to do, but once you catch the moves it’s easy and fun.
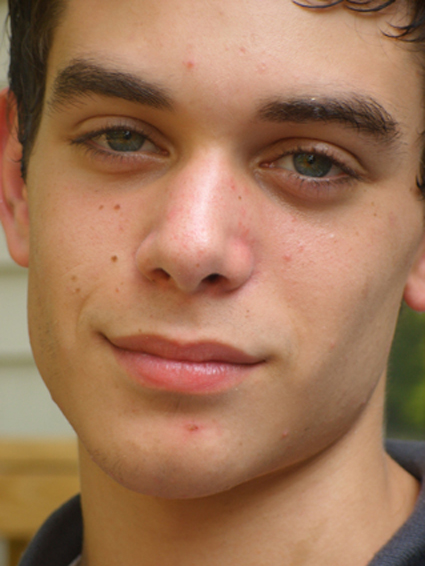
Take this image and let’s get started changing it to look like this in the end:

Step 1
Open the image in Photoshop and duplicate it (Ctrl + J). You can smooth his face or not, it’s up to you, because after you place stone texture over it only important parts will remain visible.
But I always like to do this, so using the Healing Tool I removed some spots off his face.

Step 2
Go to Image > Adjustments > Desaturate (Ctrl+Shift+U) in order to desaturate the image.

Step 3
Go to your Tools Palette and pick up the Pen Tool. Select his eyes.

After that right click on the image and choose Make selection with the following settings:

Use Ctrl + C to copy the selection and hit Ctrl + V to put the selection into a new layer. That’s one way to have your selection separately.
Now you can just click on that layer while you hold down the Alt key and Photoshop will select the eyes. And you can modify the eyes without damaging the initial photo.
Now you can just click on that layer while you hold down the Alt key and Photoshop will select the eyes. And you can modify the eyes without damaging the initial photo.
Another way to save your selection is: Select > Save selection. And when you will need the selection, simply go to Select > Load selection.

Step 4
Select the eyes and make sure you’re on their layer. Go to Clone Tool, set the Sample to All Layers and start to clone some areas off his face over the eyes. Deselect (Ctrl + D) and go to the next step.

Step 5
In order to make a stone portrait you will have to have a stone texture. I used this one. Open it in Photoshop and drag and drop it into your project.


Step 6
Let’s go back to the statue’s eyes. Because they are a little too bright compared to the rest of the image you will use Hue/Saturation to darken them. Hold down Alt key and press “Create new fill or adjustments layer” icon, which you’ll find at the button of you layers palette.

Lower the Lightness to about -22 or so.
Step 7
In this step you will give a 3D look to the eyes. Select them. Go to Marquee Tool and holding down Alt key deselect the right eye. This means you will subtract from the selection and only the left eye will be selected. If you need to add to the selection, press Shift key instead of Alt key.


Step 8
Choose the Burn Tool, set the Range to Highlights and the Exposure to 50% and start to burn the areas around the eyes, just a little, to give depth to the eyes.

Step 9
Select Dodge Tool and start to brighten his hair, eyebrows and blouse.

Step 10
This is the last step and is just as easy as previous one. Take the Burn Tool again and start to define some edges, like you see in the image.


